Installing WordFence and Post SMTP plugins in WordPress
Out of the box WordPress lacks proper security and a reliable way of emailing notifications (password resets etc).
This article will show you how to install and configure the Wordfence and Post SMTP plugins on your WordPress website.
If you are having trouble following this guide and get stuck, then please contact support.
1. Log into your WordPress dashboard with the credentials you created. (To access the login page add "/wp-admin" to at end of your website name. www.yourwebsite.co.uk/wp-admin)
2. Click "Plugins" then "Add New".

3. Using the search bar in the top right, search for both Wordfence and Post SMTP and click install (make sure you install the exact plugins shown).


4. Head back to "Plugins" then "Installed Plugins".

5. First we are going to click "Activate" Post SMTP.

6. Once the plugin is activated, we need to click its "Settings".

7. Now we need to configure the Post SMTP plugin by clicking "Start the Wizard".

8. You will need to have an email address in order to send emails using the Post SMTP plugin. We recommend creating a seperate email like noreply@ or website@. To do this follow our article on How to add an Email Account.
Once you have created your email address go back to the configurator and input your email address and click "Next".

9. Now we need to enter the hostname of the mail server our email address is using. If you are hosting your email address with us this hostname will be
smtp.nuttyabouthosting.co.uk
Then click next.

10. The plugin will detect if it can connect to the hostname. Once it does select the "SMTP - co.uk:465" option and click next.

11. We then need to input your username (email address) and password so the plugin can authenticate with the mail server.

12. Make sure notifications are set to email then click next.

Success! You have just installed and configured Post SMTP. Now click finish.

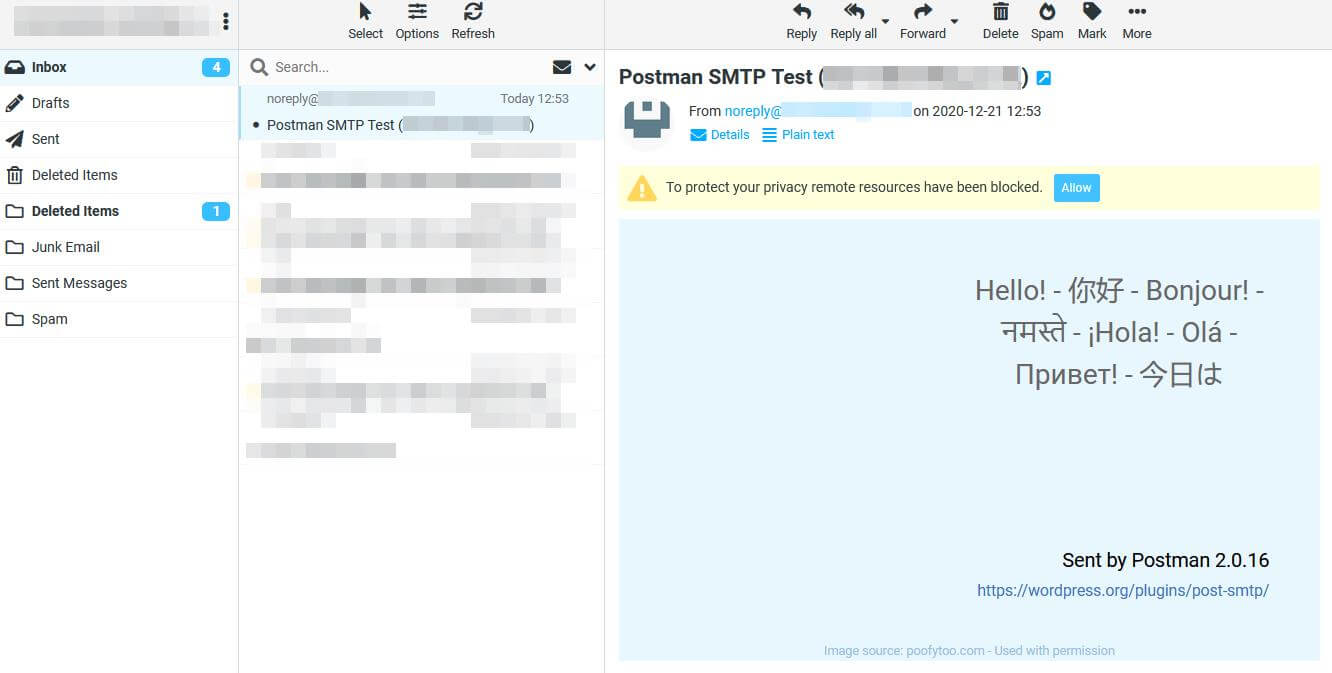
It is recommended to then test the set up. Click "Send a test email" then "Next" to test if the plugin has been configured properly.

Login to your email account at https://roundcube.nuttyabouthosting.co.uk and see if the email is in the inbox.
The email should look like the image below.
13. We now need to install and set up Wordfence. First, go back to "Plugins" then "Installed Plugins".
14. Activate the Wordfence plugin.

15. Next you will need to input the email address you set up your WordPress website with (typically your personal email address) to allow wordfence to notify you with security alerts.
Select whether you want to receive Wordfence news.
Lastly, tick the check box to agree to the terms and privacy policy.
Then click continue.

You will be asked for a premium key, which you can enter now if you have one. However you can click 'No Thanks' and use for free. The premium plugin gives you realtime updates and other features.
16. Now we need to enable auto-updates for Wordfence by going to the Wordfence tab and clicking "Yes, enable auto-updates".

17. Now we need to configure the web application firewall. This will require you to log into your portal and access your web hosting control panel.
Once at the control panel go to "File manager"

18. Then click the lock next to your website’s domain name.

19. Now check the "Read" box next to your website’s domain name and click "Set Permissions".

20. Head back to your WordPress site and onto the "Wordfence" tab and click "Click here to configure" at the top of the page.

Then make sure "Windows (IIS)" is selected then click continue.

21. Head back to your control panel home and click "Web Sites".

22. Click the domain name of your WordPress website.

23. Now click the recycle icon to restart your website.

And we are done! Both Wordfence and Post SMTP have been successfully installed and configured properly for use within your website.
If you had any trouble following this guide please contact support.
ABOUT US
Specialists in Windows & CloudLinux Web Hosting
Fast, reliable ASP.NET and PHP hosting with UK-based support from professional web developers who understand the technology behind your website.
We also offer competitively priced UK domain names and SSL/TLS security certificates.
Read more here.
SIGN UP TO OUR
NEWSLETTER
Subscribe to our newsletter and stay up to date with the latest news and deals!
Don't worry you can unsubscribe at anytime and we promise not to send more than one a month!
RECENT NEWS


GET IN TOUCH
Phone: 01803 467863
Email: hello@nuttyabouthosting.co.uk
STAY CONNECTED
2026 © Nutty About Hosting. All Rights Reserved. Privacy Policy | Terms and Conditions | GDPR | Partners | Green Hosting
Follow us on Twitter to receive updates regarding network issues, discounts and more. All prices exclude VAT.