
Last updated: 22 September 2026
Please note: our mail platform has changed, and the server settings in this article are the new ones. If your mailbox has not been moved across yet, your current settings will still be working - please leave them as they are until we tell you otherwise. See Email Address Settings to use in an Email Client for the full list, or contact support if you would like to be moved across sooner.
Gmail is the default email client on Android.
Your email account should automatically set up using just your email address and password.
If that does not work then this guide shows you how to manually add your IMAP email account to Gmail on Android.
1. Open up Gmail and click 'Add Email Account'.

2. Select 'Other' from options under Set up email.

3. Enter your email address and then select 'manual setup'.

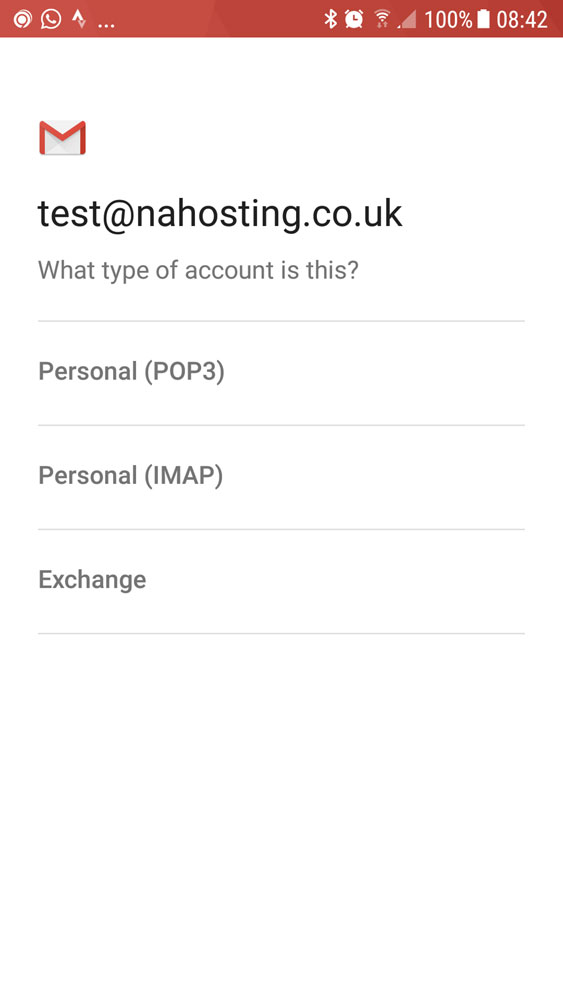
4. Select 'Personal (IMAP)' from the options under What type of account is this? Click Next.
5. Enter your email password. Click Next.

6. Enter the Incoming (IMAP) server settings - imap.nah.zone. Click Next.

7. Enter the Outgoing (SMTP) server settings - smtp.nah.zone. Make sure 'Require Sign-in' is selected. Enter email address and password (should already be prefilled). Click Next.

8. Enter a name for email account. Click Next.

9. Confirm the Gmail options for the email account. Click Next. You are finished.
