How to Restore Azure BacPac file to MS SQL Database
If you are moving your database from Azure SQL Database to us, using the "Export" option within the Azure Management Console, you will be given a BACPAC file, a data-tier application (DAC) file, to create a new database. You can not directly restore this type of file but have to follow a few steps to import it into your database with us.
To do this you will need the latest SQL Server Management Studio (SSMS), a local instance of SQL Server, either Express or any full version, and your .bacpac file.
1. Log into your portal at https://www.nuttyabouthosting.co.uk/portal and click on your hosting/DNS plan.
2. Click 'SQL Server' under the heading 'Databases'.
3. Click on 'Create Database' and create a new database for you to import your Azure database.
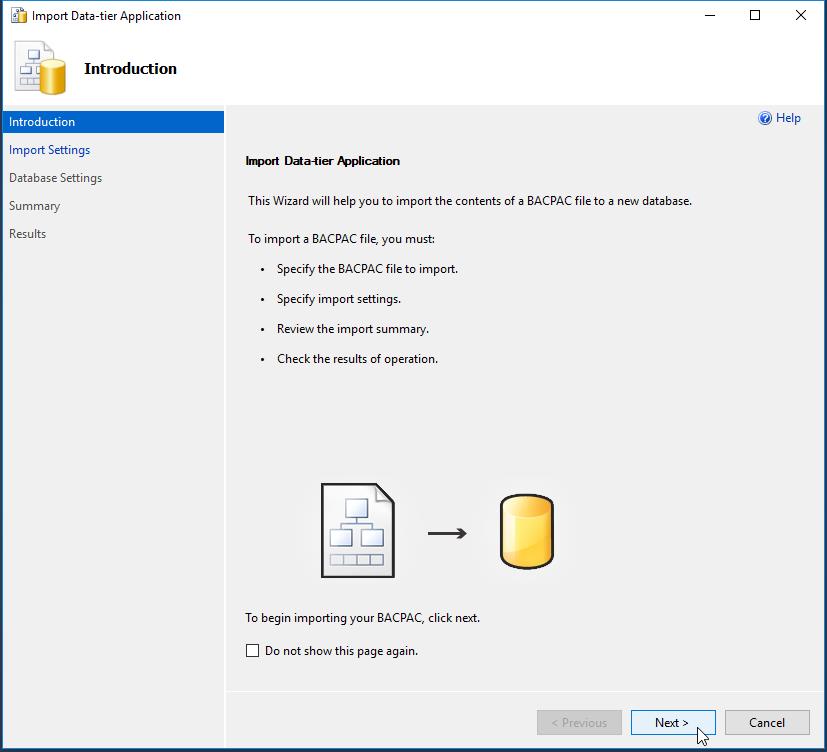
4. On your PC open SSMS and connect to your local instance of MS SQL. Right click on the 'Databases' and click 'Import Data-tier Apllication'.
6. Select 'Import from local disk' and click 'Browse' to locate your .bacpac file. Then click 'Next'.
10. Now we need to export your new database you have create from to .bacpac file to a .bak file. Right click on the database and select 'Tasks' and then click 'Back Up...'
11. Click 'Remove' and then 'Add...' and save your .bak file to a temporary location. Don't forget to end the filename in .bak. Then click 'OK'.
12. The backup will comlete. Close SSMS and then head back to your hosting control panel to restore the .bak file. Click on the database you created in step 3. Under 'Maintenance Tools' click on the 'Restore' button. Select 'Upload File' and click 'Choose file' to browse to the .bak file you created in step 11. Then click 'Restore'. After you have done that make sure your database user has permissions on the restored database.
2026 © Nutty About Hosting. All Rights Reserved. Privacy Policy | Terms and Conditions | GDPR | Partners | Green Hosting
Follow us on Twitter to receive updates regarding network issues, discounts and more. All prices exclude VAT.


