How to Connect Your Domain to Wix
If you are using Wix for your website you will need to connect your domain name to your Wix account.
This article shows you how to connect a domain to Wix using the pointing method.
1. Login to your Wix account and go to the Wix article called Connecting a Domain to Wix Using the Pointing Method.
Under Step 2 you will see you unique connection details. These are required for the next steps.
If you don't see them then you are likely to be NOT logged in!

2. Log into your Nutty About Hosting portal at https://www.nuttyabouthosting.co.uk/portal.
3. Click on your hosting plan to take you to your hosting control panel.

4. Click on the 'Domains' option, under the System heading.

5. Click on the domain name you wish to add the Wix DNS records to.
6. Click the 'Edit DNS Zone Records' button. You may need to click the 'Enable DNS' button if that is there instead and then click the 'Edit DNS Zone Records' button.

7. Delete any blank or www A records that might be there from your previous website or our domain forwarding service.

8. Click the 'Add Record' button.
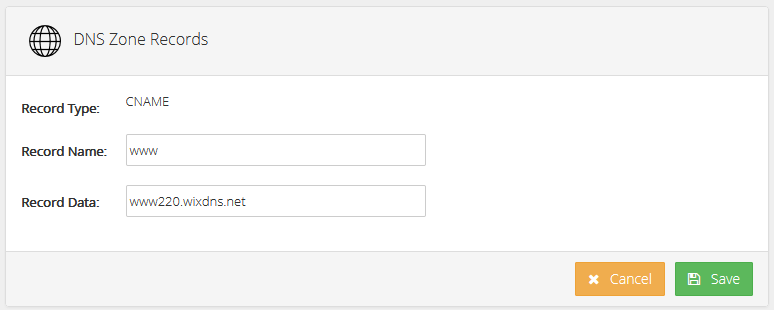
9. Select the CNAME option from the Record Type dropdown. Insert your details from Wix. For the Record Name put www and then for Record Data add the Cname record like www220.wixdns.net in our example. Then click the 'Save' button.
10. Click the 'Add Record' button.
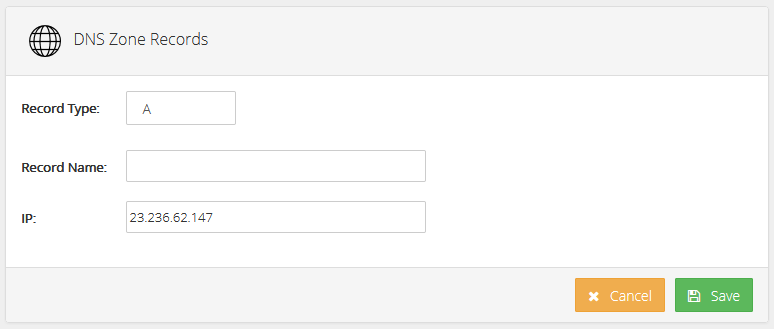
11. Select the A option from the Record Type dropdown. Insert your details from Wix. For the Record Name leave blank www and then for IP add the IP given like 23.236.62.147 in our example. Then click the 'Save' button.
That's it, your domain name is now connected to your Wix website! It may take a while to work as with all DNS changes and make sure you have published your Wix website too.
ABOUT US
Specialists in Windows & CloudLinux Web Hosting
Fast, reliable ASP.NET and PHP hosting with UK-based support from professional web developers who understand the technology behind your website.
We also offer competitively priced UK domain names and SSL/TLS security certificates.
Read more here.
SIGN UP TO OUR
NEWSLETTER
Subscribe to our newsletter and stay up to date with the latest news and deals!
Don't worry you can unsubscribe at anytime and we promise not to send more than one a month!
RECENT NEWS


GET IN TOUCH
Phone: 01803 467863
Email: hello@nuttyabouthosting.co.uk
STAY CONNECTED
2026 © Nutty About Hosting. All Rights Reserved. Privacy Policy | Terms and Conditions | GDPR | Partners | Green Hosting
Follow us on Twitter to receive updates regarding network issues, discounts and more. All prices exclude VAT.